How to Bantu Knot
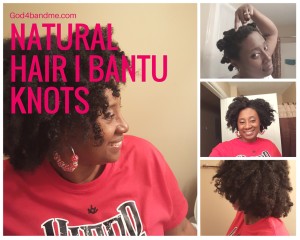
Bantu knot is a hairstyle that is one that I happen to enjoy more on other people. I found that it is a great style that looks great on even curlies that are transitioning as well as those who have no chemicals in their hair. I have tried this hairstyle one time prior and I did not like it, but this time I decided to try it on hair that had been twisted the week before and I was just wearing as a frohawk. The first time I did do it, I did it on freshly washed hair and maybe it was the combination of the product and me. Check out how to bantu knot below:
Start:
Step 1: Separate: Divide your hair into manageable sections. If you have extremely thick hair I would suggest trying 10-12 knots, at least that is what I did this time.
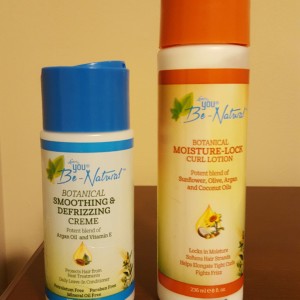
Step 2: Product application: I used only a leave in and lotion on top of it, so it was an adjustment of the liquid, oil and cream (loc) method. Work the products in one at a time with the lotion (cream) being the last product used. Don’t forget to detangle or there will be problems later. This is one of the items that I used: Defrizzing & Smoothing Creme
Step 3: The “Knot” Process: This is where some curlies differ, because some once the hair is sectioned, they begin to twist the entire section until it curls into itself and it does look like a knot and tuck the end or use a bobby pin to hold the end down. I personally twist my hair first and then twist the twist around until it curls into itself. See video below showing how I did my bantu knot.
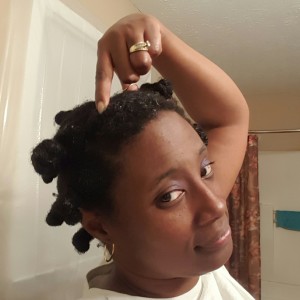
You can wear your hair out with the knots or if you are in a hurry and need your hair to dry immediately then sit under a dryer to set the style. I personally did it the night before I needed to have the style done, so I had time for it to dry.
Finish:
Step 1: Not frizz here: We don’t want frizz, so the key is to put some oil on your hands enough to use to take a loose the bantu knots before you touch your hair. You can put the oil in your hands and do a once over on your hair to help make sure you touch every part of your head with oil. No more than 1/2 teaspoons worth of oil (eyeball it). We do not want your hair to be oily when you go to touch it later, because all naturals touch their hair throughout the day:).
Step 2: Untwist: You take the bobby pin out of your 1st knot and proceed to go backwards. You twisted your hair in one direction, so you will now go the opposite way and your hair will come apart with no major effort at all.
Step 3: Fluff: This is where you can go wild and take apart and separate the sections even more until you reach your desired look. Make sure when separating that you cover all of your parts, because you do not want them to show. You can use a pick or comb to take to the root to help fluff and add height to your hair.
See my results closer below:
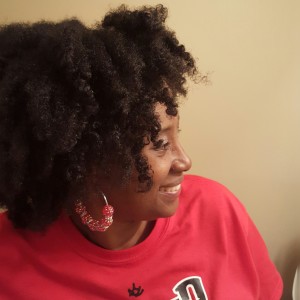
My hair was not completely dried, but it still turned out better than I thought and I love it. I plan on doing this style more often. It is indeed a winner. To keep the style a couple more days, I slept in a bonnet and then would fluff in the morning.
Do you like Bantu Knots and/or Bantu Knot-outs?


2 Comments
Amanda
I use to be natural before…well I guess I still am. I make my own wigs but I never got a chance to knot before. Always did twists with my 4c hair.
Thanks for sharing!
http://icecofeequeen.blogspot.com/?m=1
jerchap1ver5
Thank you for reading. It is never too late. You most certainly can do it. I want to get a wig for the times that I want a different look.